How to Bake an Authentic Ukrainian Paska – Traditional Easter Bread Recipe
Paska, the traditional Ukrainian Easter bread, holds a cherished place in Easter celebrations, symbolizing renewal and festivity. Its rich, slightly sweet flavor and soft texture make it a centerpiece on the Easter table. Baking an authentic Paska involves a blend of time-honored techniques and heartfelt tradition. Drawing inspiration from renowned Ukrainian chef Yevhen Klopotenko’s classic recipe, here’s a comprehensive guide to crafting this delightful bread.
Ingredients:
For the Dough:
- 500 ml warm milk (approximately 35°C or 95°F)
- 10 g active dry yeast
- 150 g granulated sugar
- 5 large eggs
- 100 g sour cream
- 100 g unsalted butter, melted and cooled
- 1/2 teaspoon salt
- 1 teaspoon vanilla extract
- Approximately 1 kg all-purpose flour
- Optional: 100 g raisins or candied fruit
For the Glaze:
- 200 g powdered sugar
- Juice of half an orange
- Optional: Sprinkles or decorative toppings
Instructions:
- Prepare the Sponge:
- In a bowl, combine the warm milk, yeast, and a tablespoon of sugar. Stir until the yeast dissolves.
- Add about 100 g of flour to the mixture, stirring to create a smooth batter.
-
Cover the bowl with a clean kitchen towel and let it rest in a warm, draft-free place for 20-30 minutes, or until the mixture becomes frothy and doubles in size.
- Mix the Dough:
- In a large mixing bowl, beat the eggs with the remaining sugar until the mixture is light and fluffy.
- Add the sour cream, melted butter, salt, and vanilla extract to the egg mixture, stirring well to combine.
- Incorporate the risen sponge into the mixture, mixing thoroughly.
-
Gradually add the remaining flour, mixing continuously, until a soft, slightly sticky dough forms. If using raisins or candied fruit, fold them in during this step.
- Knead the Dough:
- Transfer the dough to a floured surface and knead for about 10 minutes, adding small amounts of flour as needed, until the dough is smooth and elastic.
-
Place the kneaded dough into a greased bowl, cover with a kitchen towel, and let it rise in a warm place for 1.5 to 2 hours, or until it doubles in size.
- Shape the Paska:
- Once the dough has risen, gently punch it down to release air.
- Divide the dough according to the sizes of your baking molds. Traditional Paska is often baked in tall, cylindrical molds, but round cake pans can also be used.
- Grease the baking molds and place the dough inside, filling each mold about halfway to allow room for the dough to rise.
-
Cover the molds with a towel and let the dough rise again for about 30-45 minutes, or until it reaches the top edge of the molds.
- Bake the Paska:
- Preheat your oven to 180°C (350°F).
- Carefully place the risen dough into the preheated oven.
- Bake for 30-45 minutes, depending on the size of your molds, until the tops are golden brown and a skewer inserted into the center comes out clean.
-
If the tops brown too quickly, tent them with aluminum foil to prevent over-browning.
- Prepare the Glaze:
- While the Paska is baking, prepare the glaze by combining the powdered sugar with the orange juice, stirring until smooth.
-
Adjust the consistency by adding more sugar for thickness or more juice for a thinner glaze.
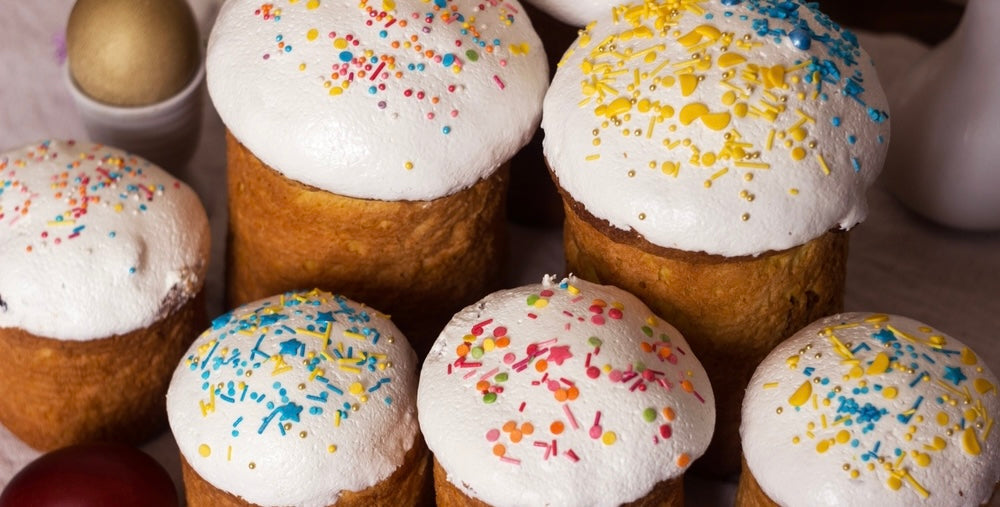
- Decorate the Paska:
- Once the Paska has cooled completely, remove them from the molds.
- Drizzle the glaze over the tops, allowing it to drip down the sides.
-
Optionally, decorate with sprinkles or other festive toppings.
Tips for Success:
- Ingredient Temperature: Ensure all ingredients, especially dairy and eggs, are at room temperature to promote better yeast activity and dough consistency.
- Yeast Activation: The milk should be warm but not hot; temperatures above 40°C (104°F) can kill the yeast, hindering the dough’s rise.
- Rising Environment: Choose a warm, draft-free area for dough rising. An oven with the light on or a slightly warmed oven (turned off) can provide an ideal environment.
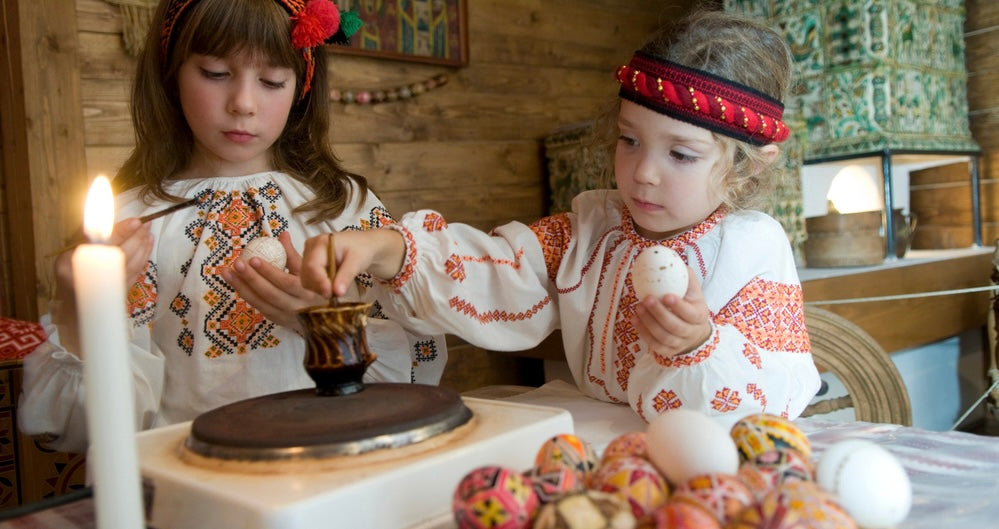
- Decoration Variations: Traditional Paska decorations include intricate dough braids or symbolic shapes placed atop the loaf before baking. Feel free to personalize your Paska with meaningful designs.
Baking Paska is more than just preparing bread; it’s an immersive experience steeped in cultural heritage and familial traditions. The process, though time-intensive, rewards you with a delectable bread that embodies the spirit of Easter. As you savor each slice, you’re partaking in a ritual that has united generations in celebration and joy.
Inspired by Yevhen Klopotenko’s classic Paska recipe.
De Elena Volkova